Good News Lutheran Church / Progress Pictures
(newest on top, scroll down to DOUBLE LINE, then move upwards)

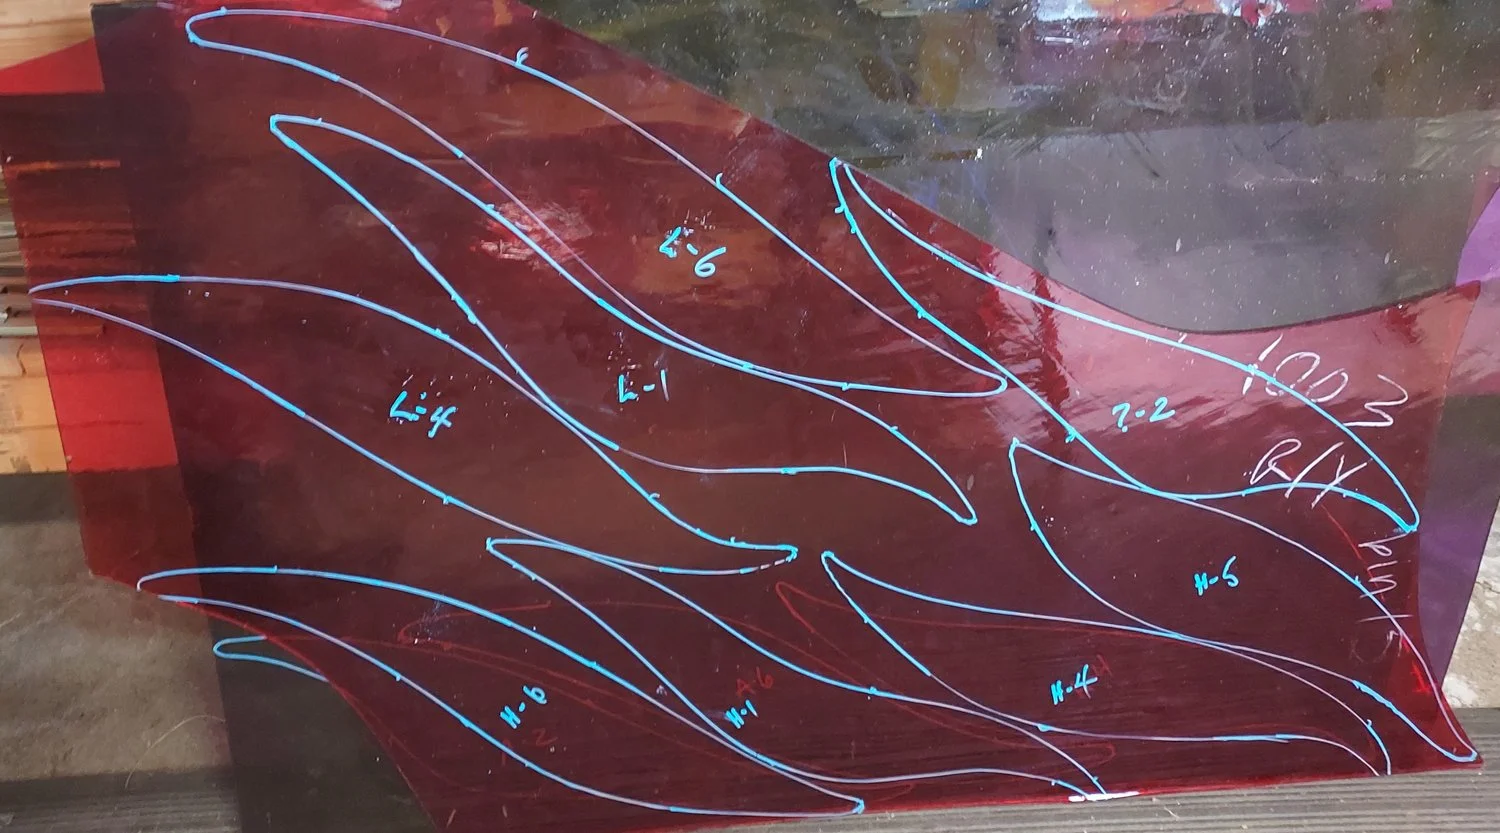
Detail of prep for the pour. The numbers represent the cable number and the location of the flame on that cable. “6-2” equals cable #6, the second from the top.

About half the flames ready for gluing. A border dam of foam tape will keep the glue from oozing out. The nails ensure that the glass pieces stay in alignment.

The color-key, which tells us what color goes where on each cable and how much space there should be between each piece of glass.

The lower 2/3rds
The top 2/3rds.

In our studio, we could work with about 2/3rds of the sculpture at a time.

We took the paper version to a nearby theater (with a tall ceiling) in order to see the spacing between pieces.

Cindy works on the color palette for the sculpture

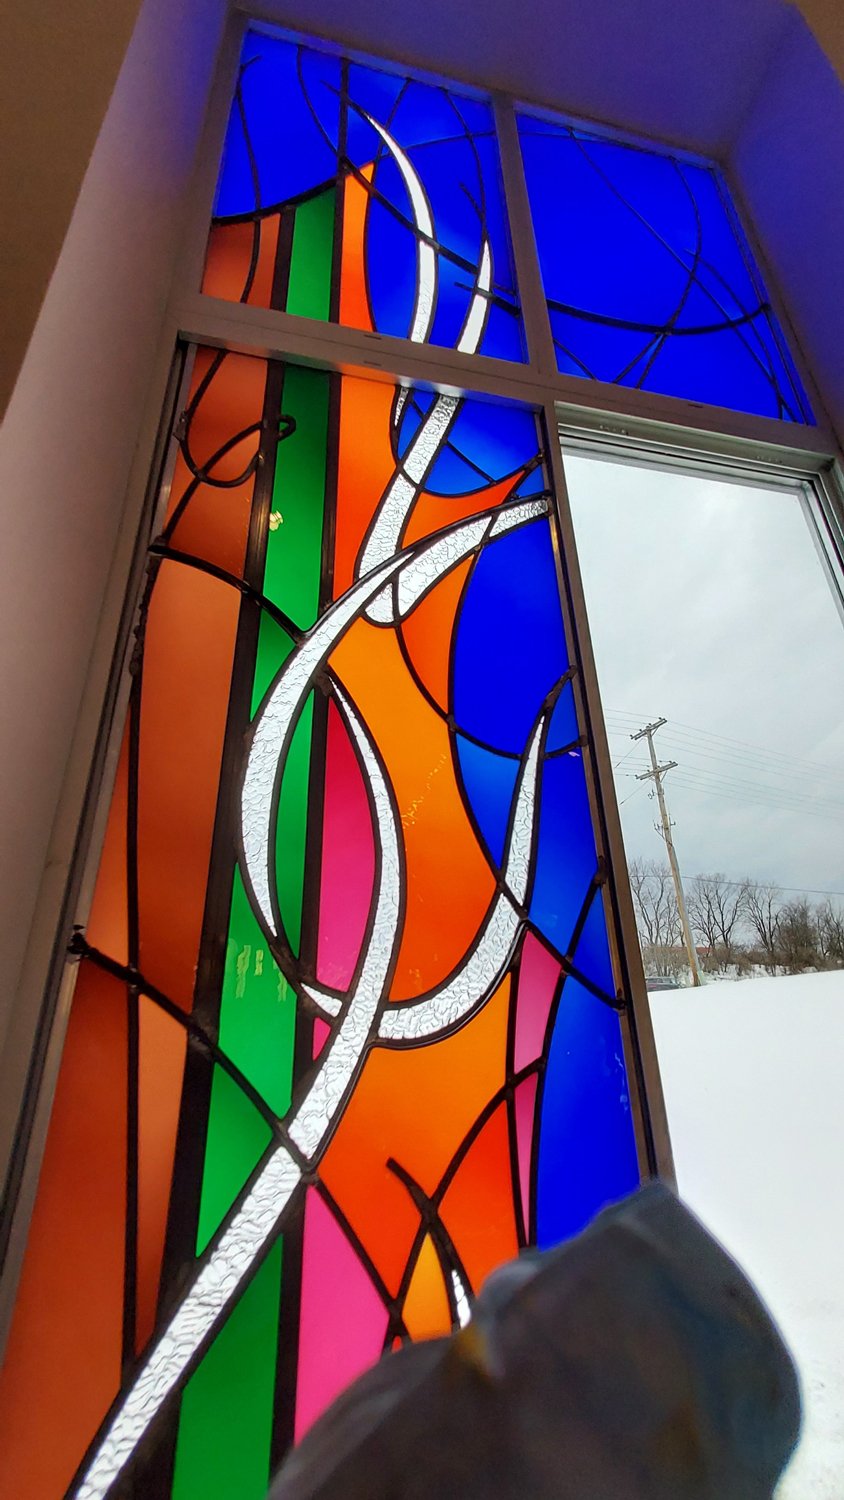

Installation!
Ready to be puttied
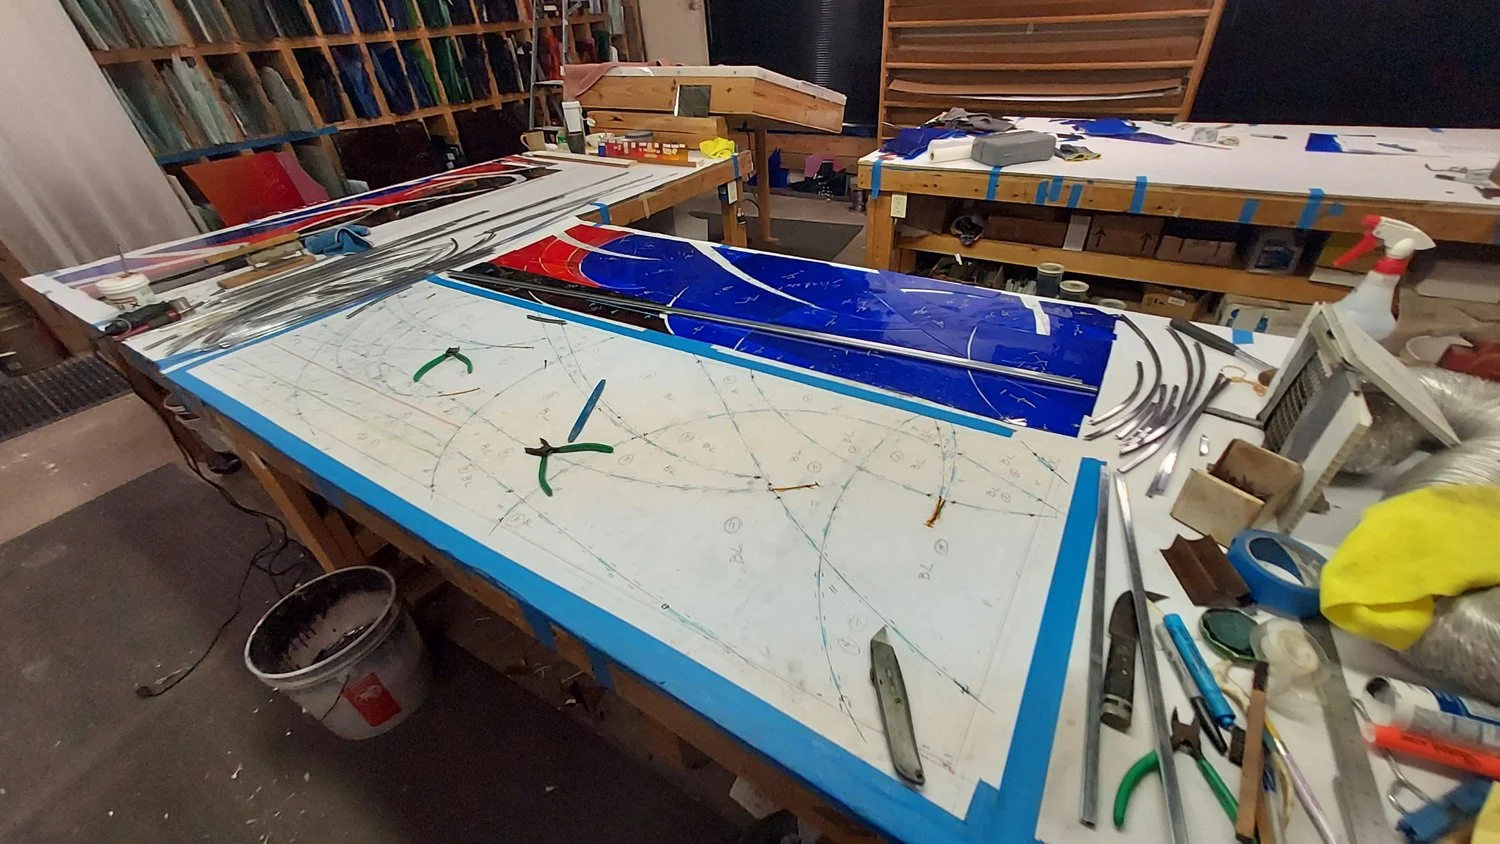
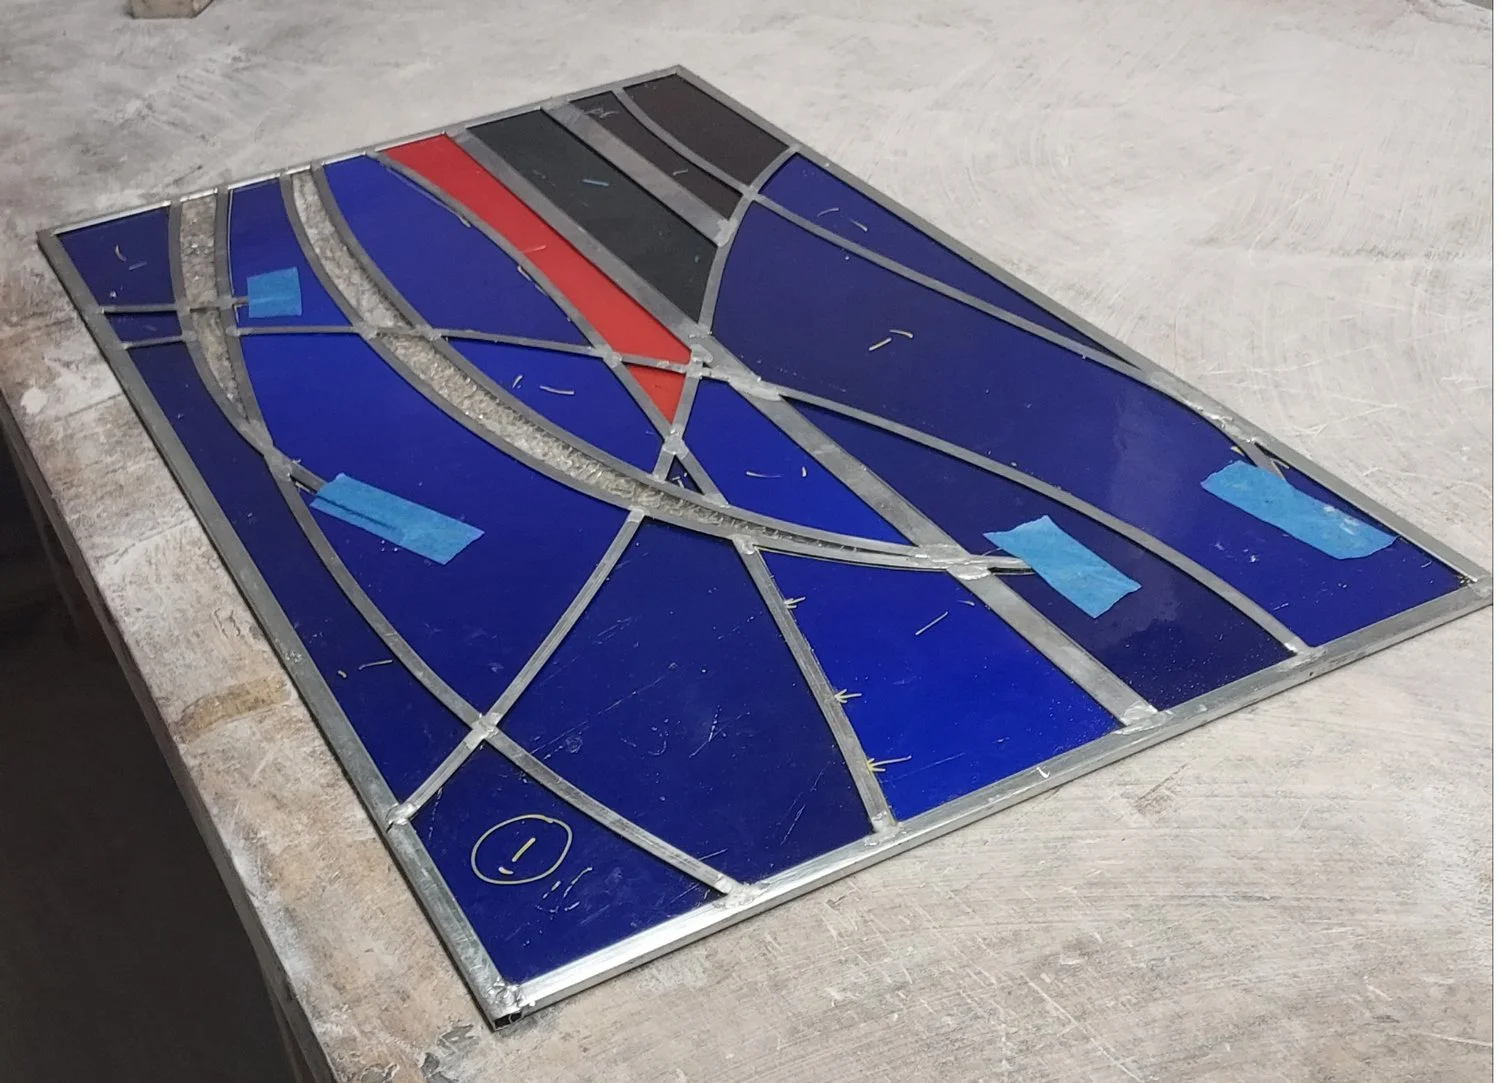
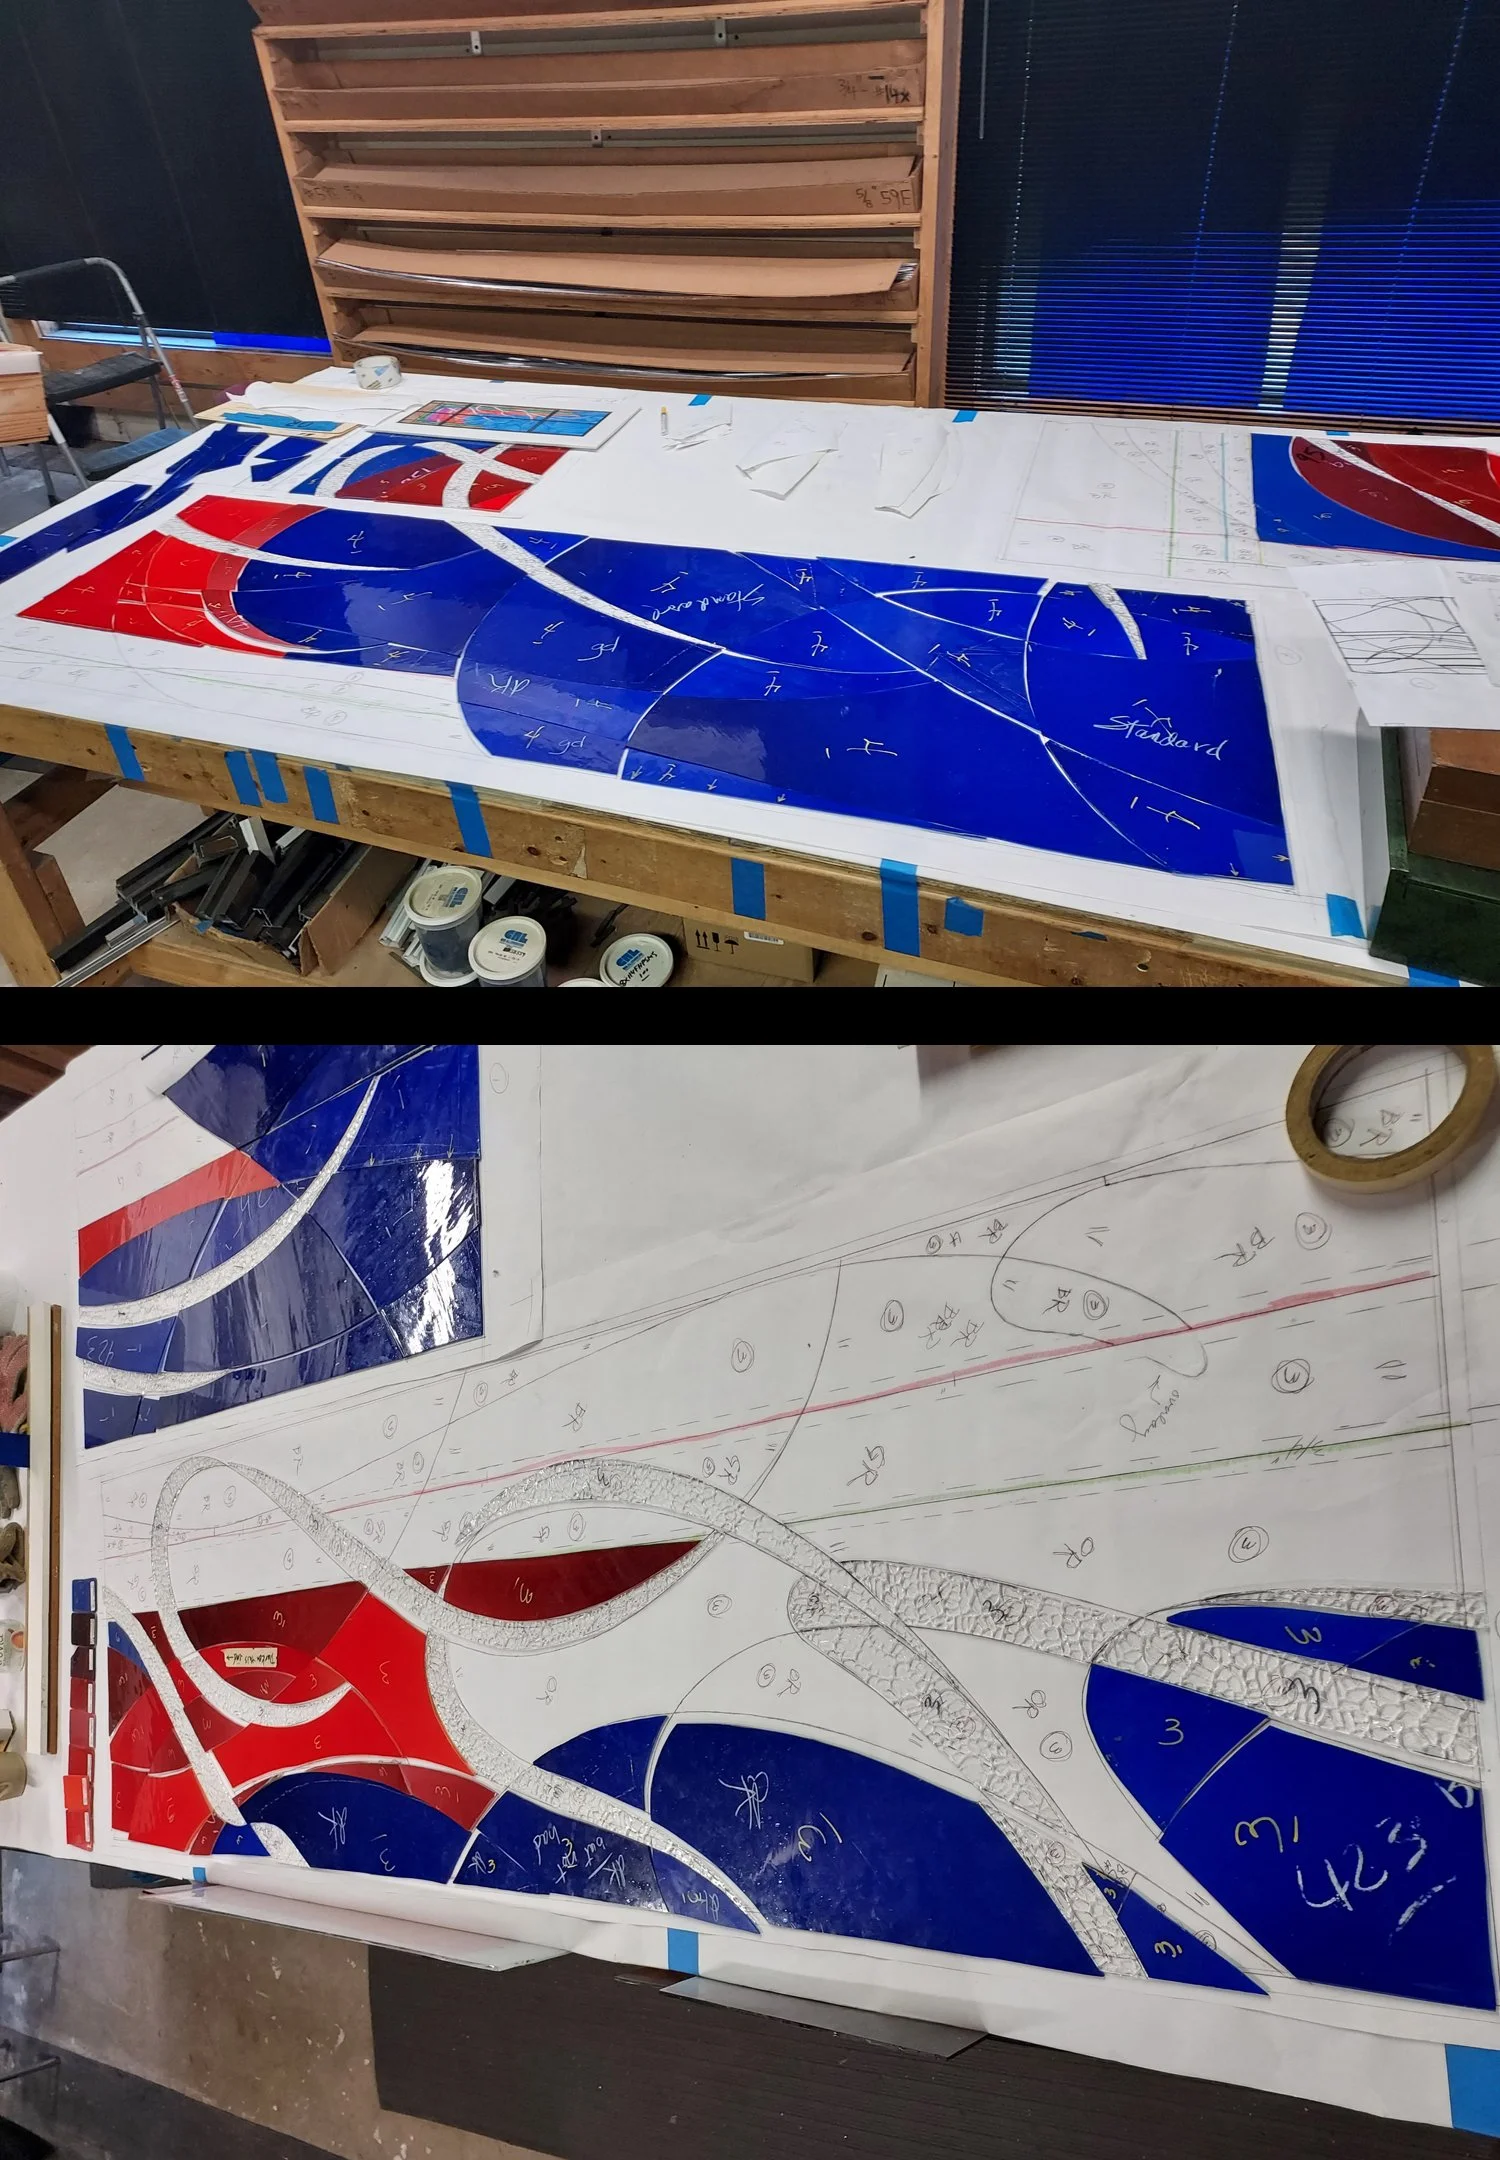
Preparing to build one of the larger panels

A third panel build, puttied and waiting for rebars.
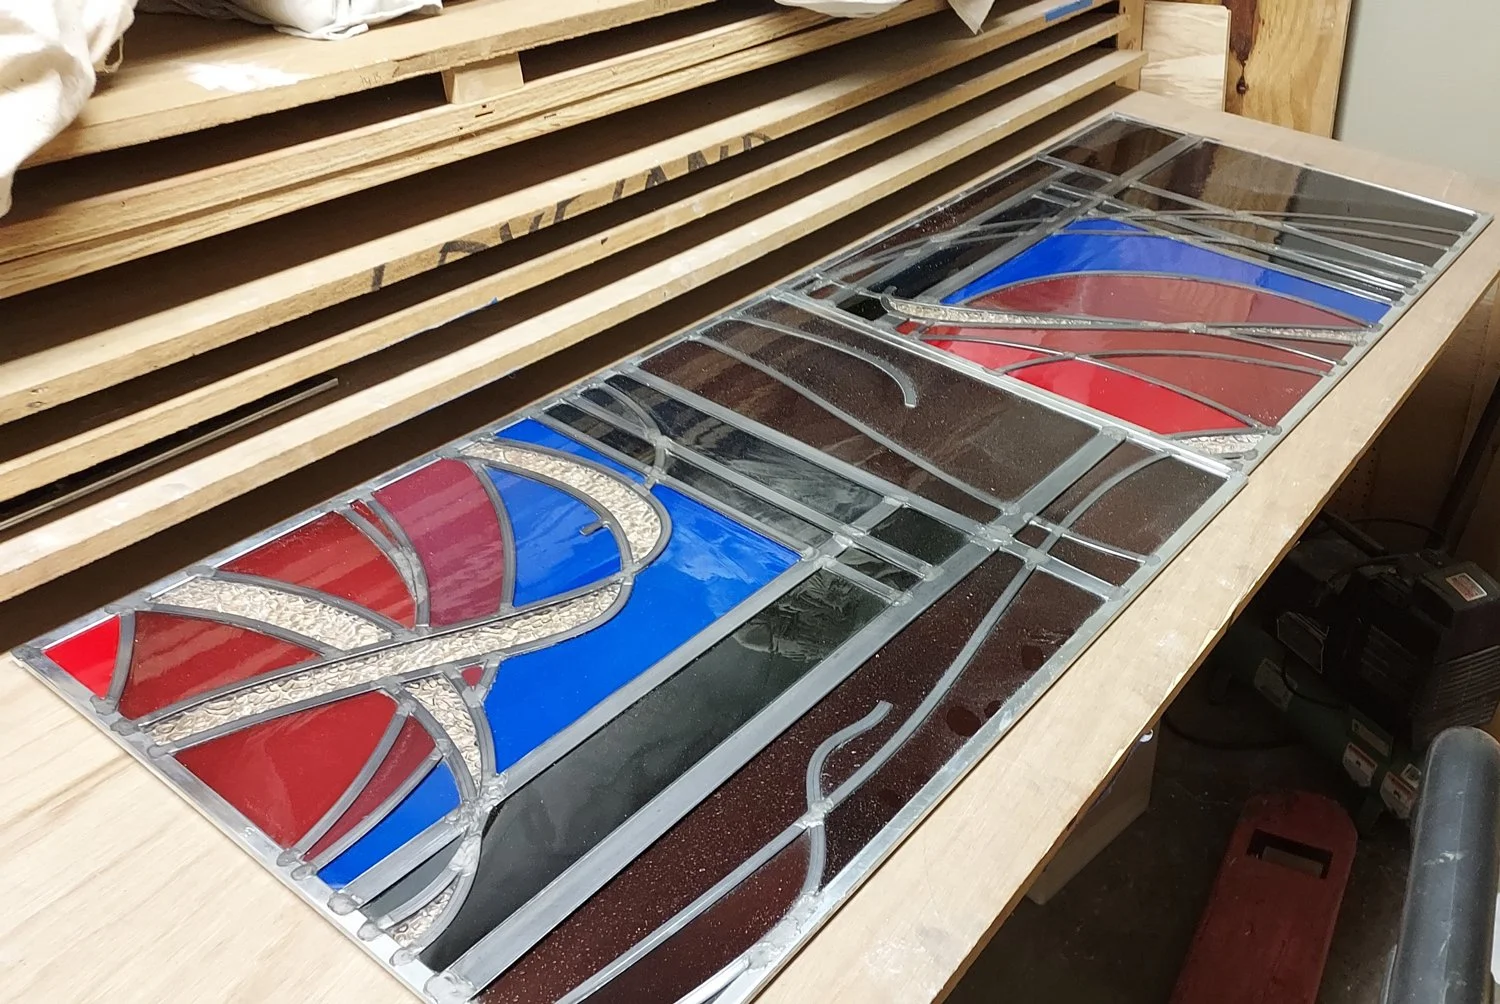
Two panels built and puttied. Laying flat for a few days, then rebaring, plating and final cleaning.

Bob building one of the panels.

The bottom two panels being checked by Cindy before assembly.

Cindy lays out the cut pieces on the light table to check glass shading.

The glass from Germany arrives.
Burning Bush sculpture: Hanger being test-fit through newly drilled hole.

Burning Bush sculpture: Hole drilled with special diamond-tipped bit.

Burning Bush sculpture: Drilling requires reservoir of coolant.

Burning Bush sculpture: Backing glass ready for drilling.

Burning Bush sculpture: Pattern pieces are used to mark where holes will be drilled through glass.

Some pieces will have two colors plated atop each other to get the desired shade. Here a pink and purple will be combined.
Various shapes ready to be cut out.

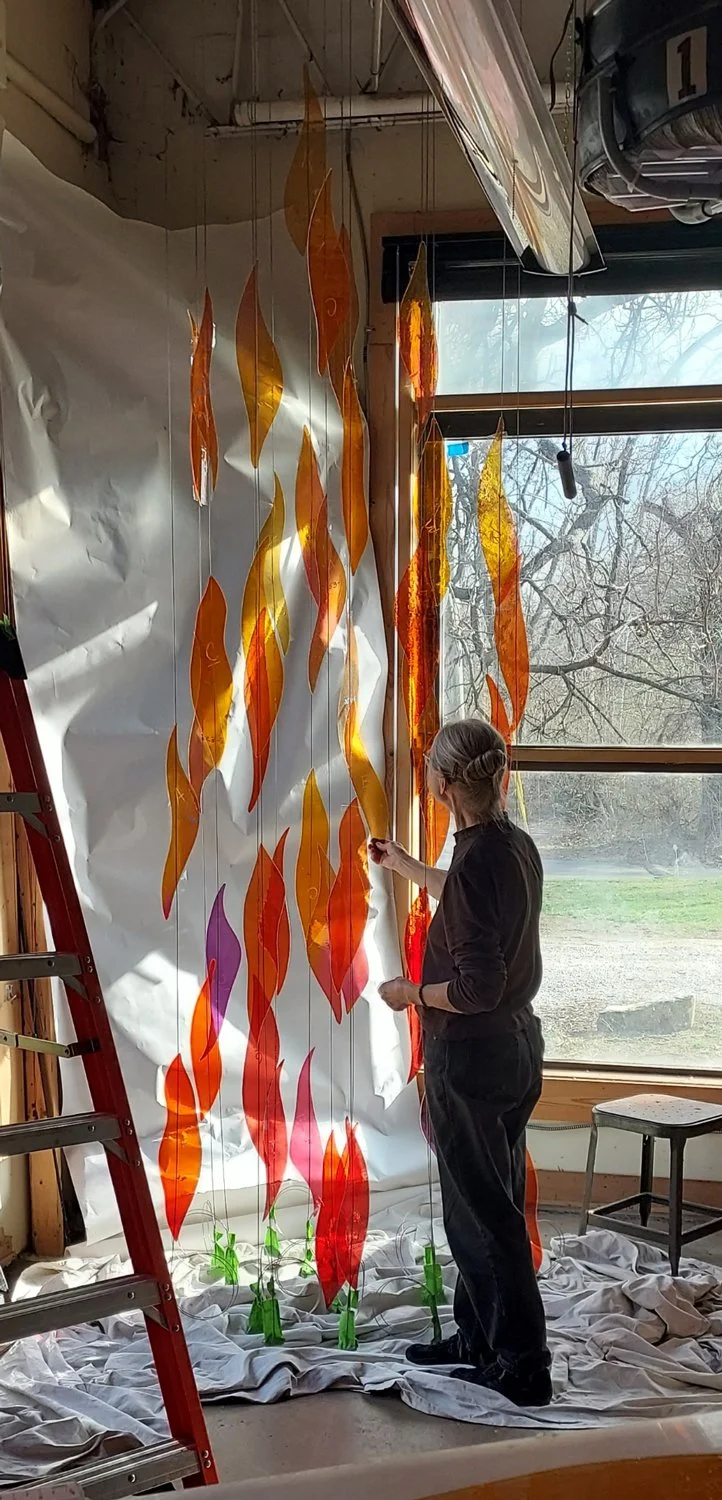
Cindy lays out some of the colors to get a count of how many of each shape she has thus far. There are about 55 flames total.

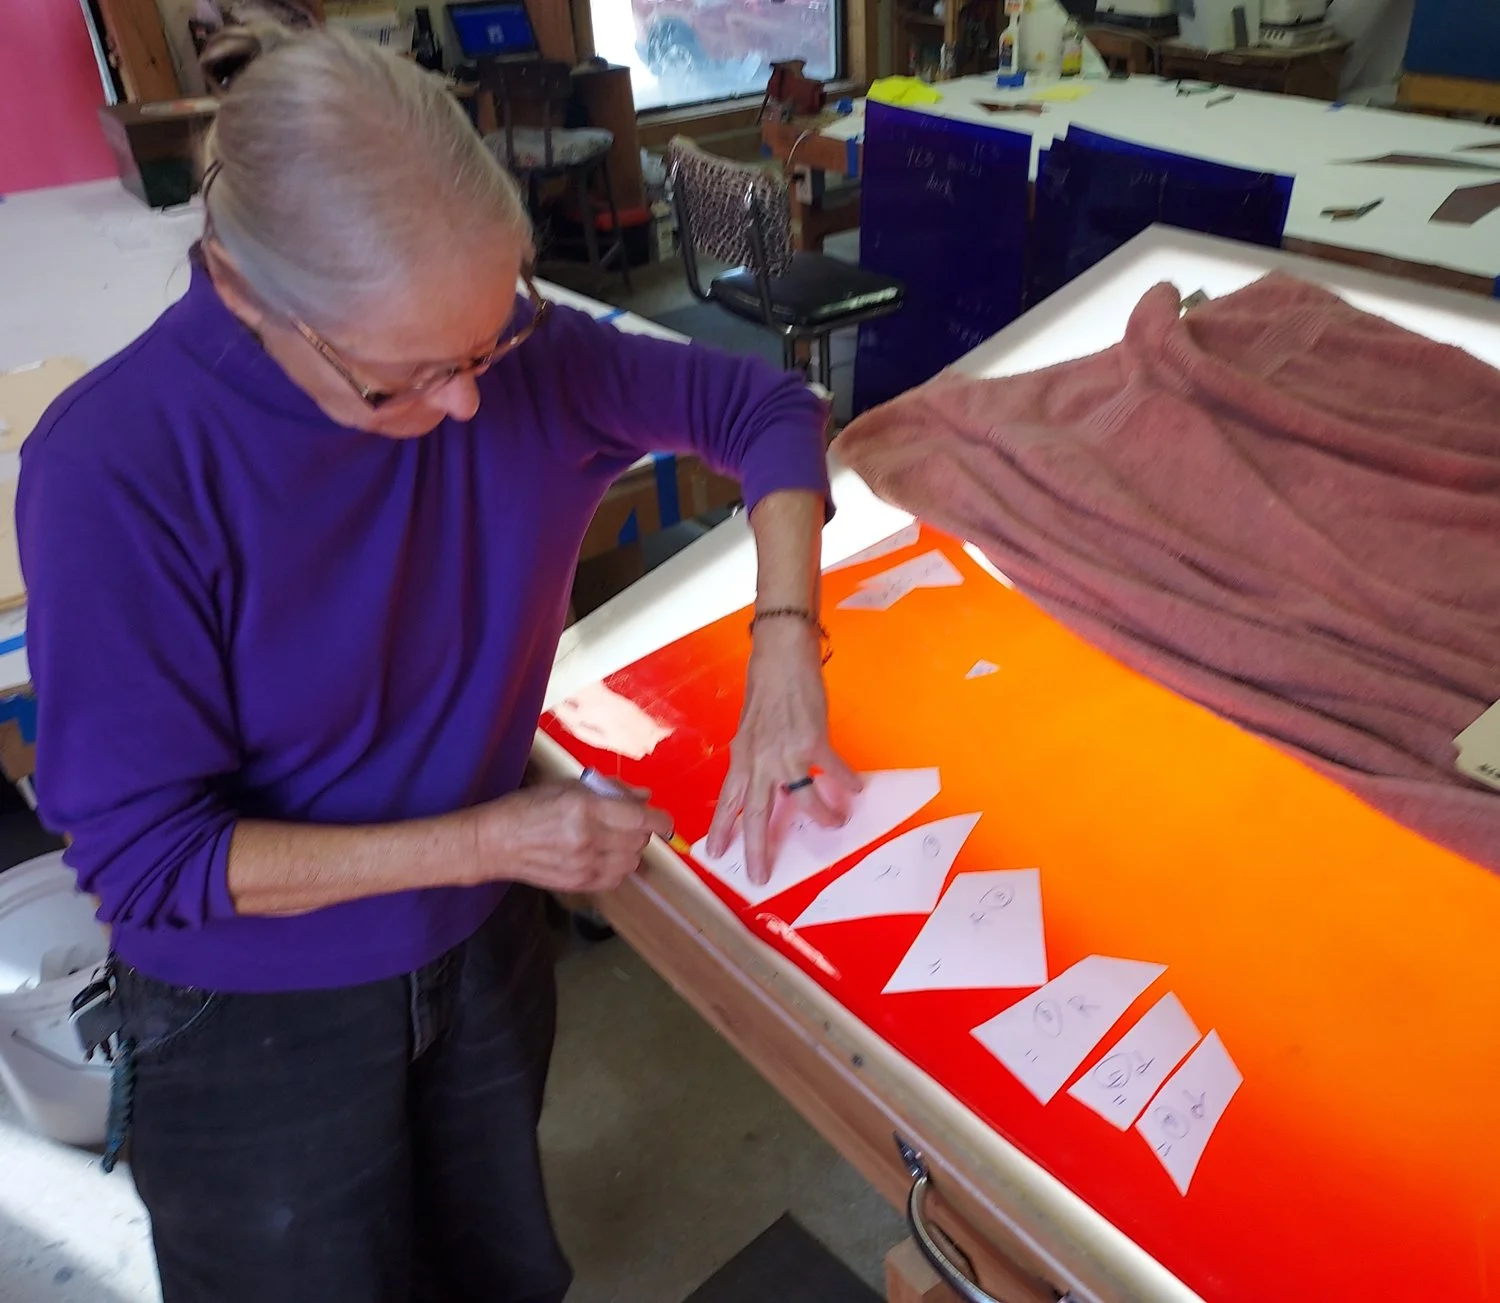
We are using eight unique flame shapes, randomized on the various colored sheets. Here Cindy uses a light table to layout patterns shapes onto a sheet of glass.
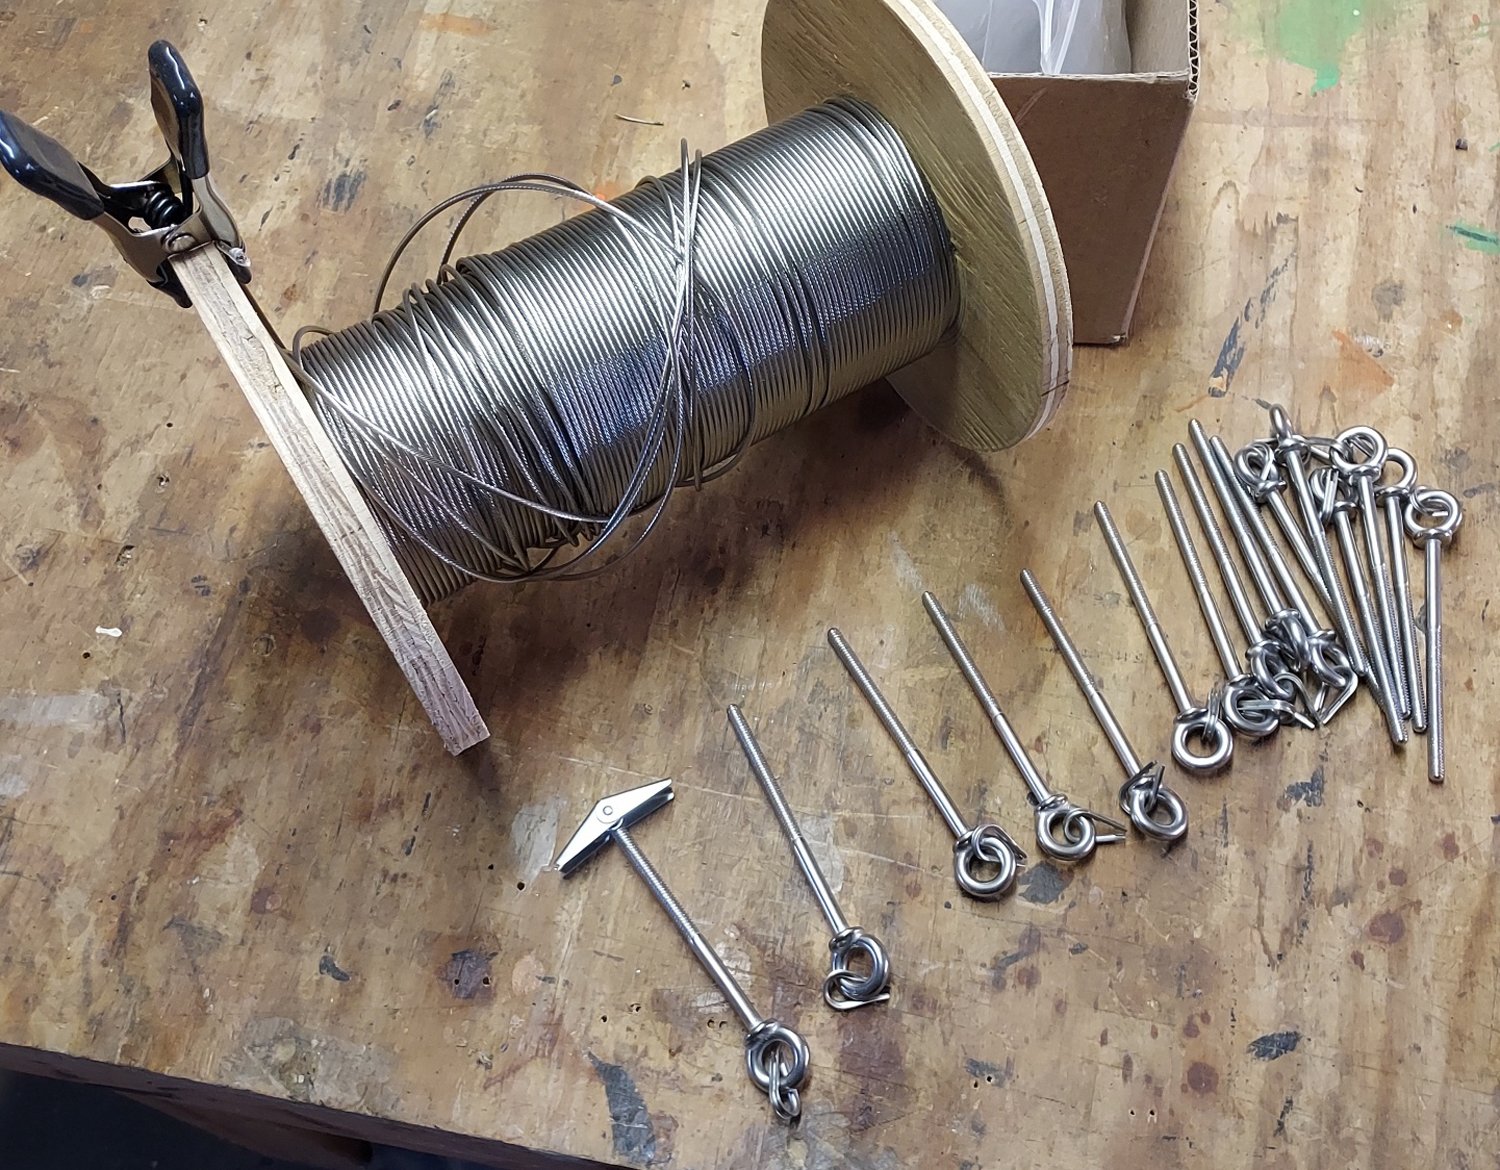
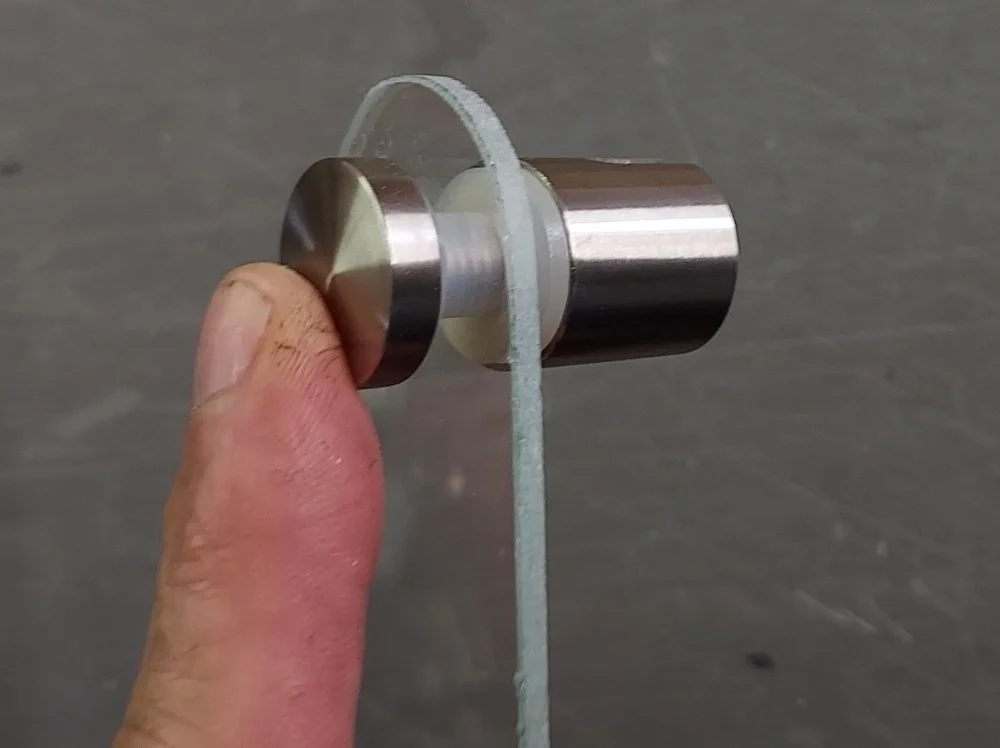
Some of the hardware that will be used. Stainless steel wire rope, eye-bolts with wing-nuts.

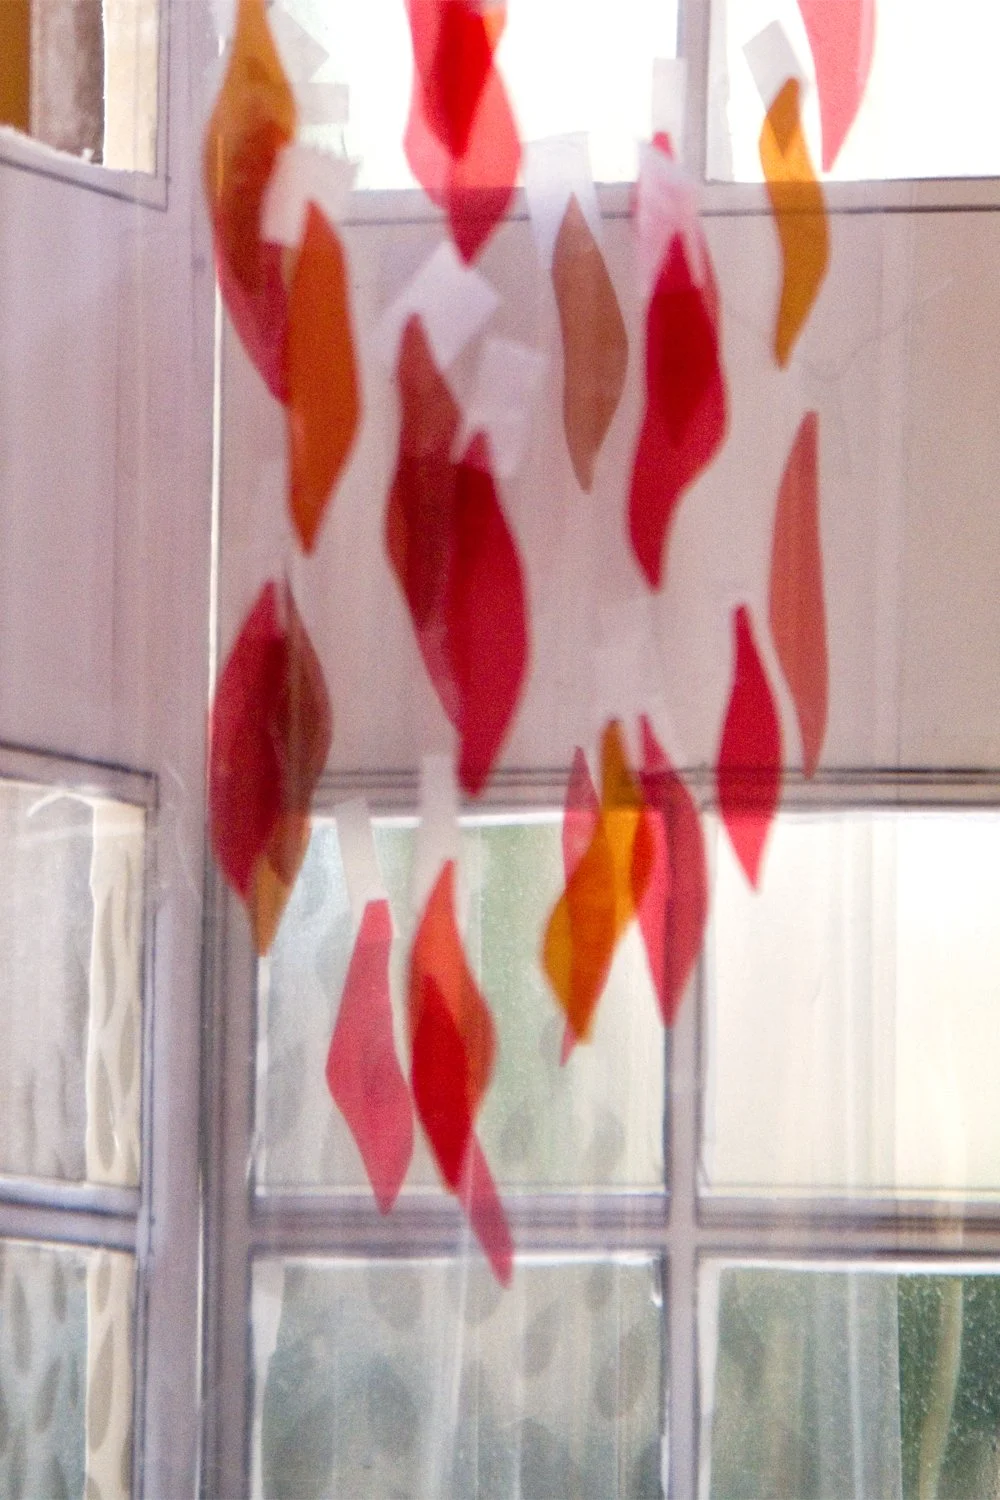


Wide view of Flames- Colors are for showing shapes, NOT the hue to be ultimately used.

Wide view of Flames- Colors are for showing shapes, NOT the hue to be ultimately used.

Detail view of Flames- Colors are for showing shapes, NOT the hue to be ultimately used.
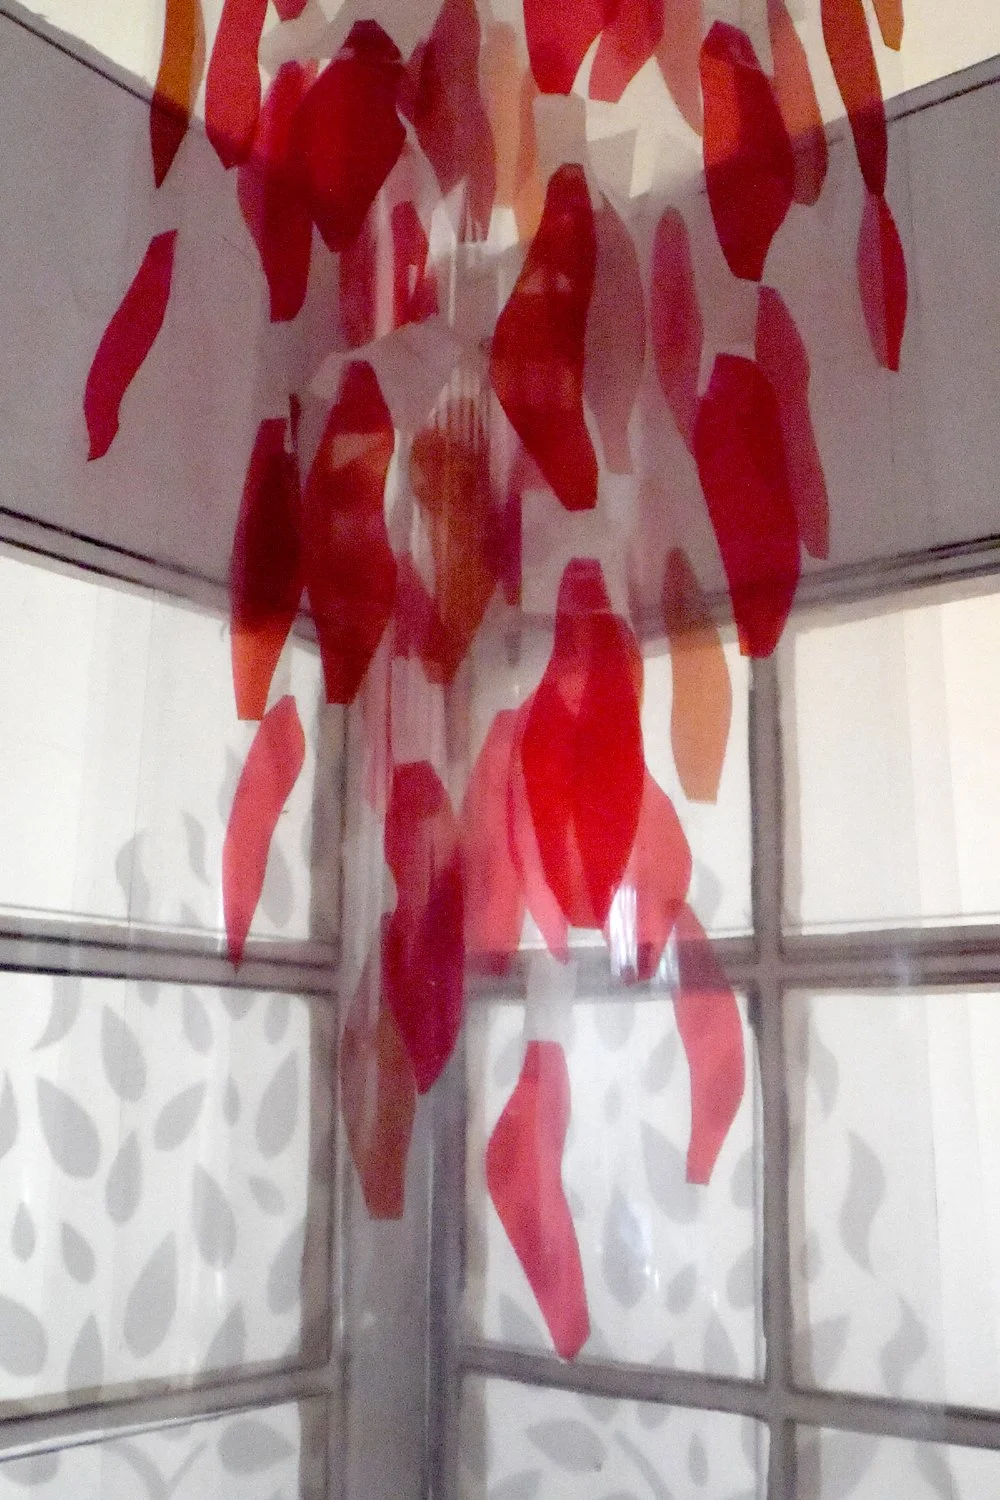
Detail view of Flames- Colors are for showing shapes, NOT the hue to be ultimately used.

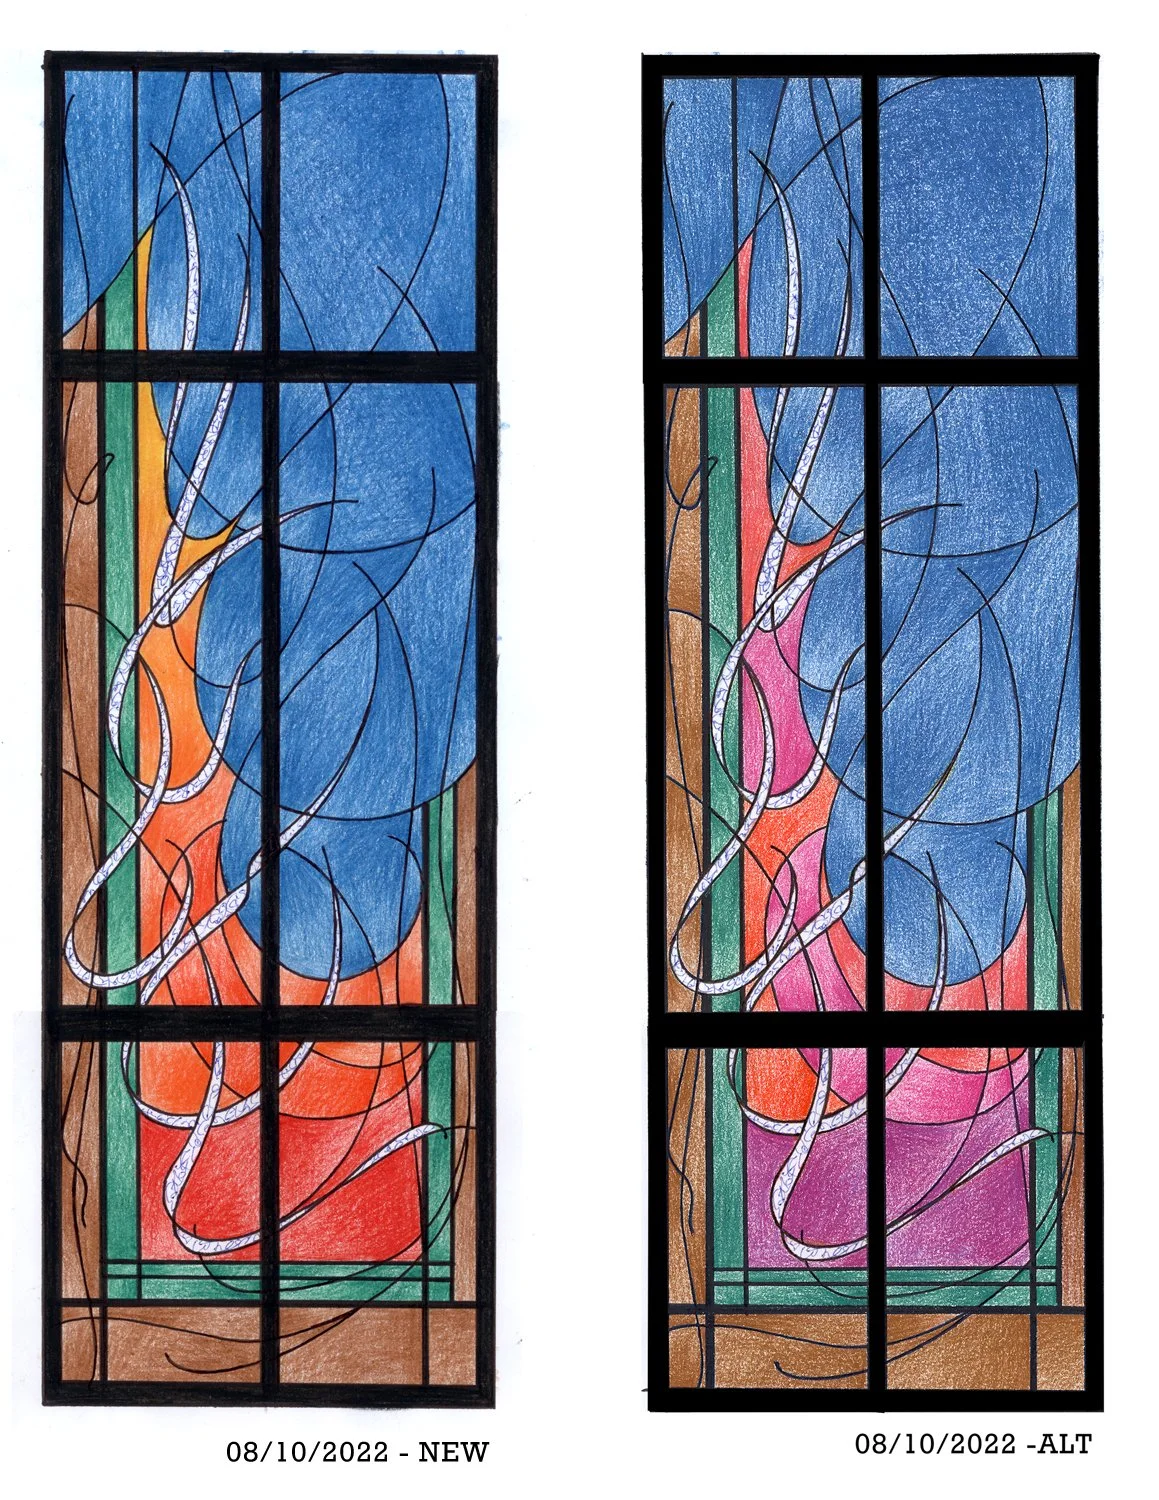
Colors for Flames

The process of making sheet glass in the traditional way.

Looking at various sheets of glass in the windows at the studio.

Cindy lays out pieces on light table to check lightness/darkness of colors.
Some of the glass has been cut and placed atop the “cartoon” to check (note: colors on top of table look completely different from what they will really look like with light passing through)
More color shading!

Cindy lays out pattern pieces to get optimum color shading